Phoenix Ignited is a proud tech solutions partner of Luxauro.com. View their news and media page here: Luxauro.com
In this tutorial we will be manually creating an ADMIN user in Documenso via PSQL in the command line. It requires root access to the machine hosting Documenso. I tested it after launching Documenso via the Local Development guide here: https://github.com/documenso/documenso#local-development but should work more or less the same no matter how you launched Documenso (assuming you launched Documenso with the Postgres DB). For the majority of the tutorial it doesn’t matter which operating system you are using, however the commands to access the database are specifically Linux commands. So just be aware of that. With that let’s dive!
First we need to log into the Postgres DB, this will vary based on how you have the Postgres DB installed. I go through the basics for both bare-metal installations and Docker installs.
# For Docker installs
# List running Docker containers and find the one running the Postgres DB
docker ps
access the docker container running the Postgres DB
docker exec -it <your_container_name> bash # replace <your_container_name> with your container's name
# Log into the Postgres Documenso DB
psql -U documenso
# For bare-metal we need to just enter
psql -U documenso
# You may need to also specify the database name in which case it would be
psql -U documenso -d documenso
Once you are logged into the Postgres Documenso database you should see something similar to the following:
root@077a3ce9a81f:/# psql -U documenso
psql (15.7 (Debian 15.7-1.pgdg120+1))
Type "help" for help.
Once inside the Postgres Documenso database we can immediately create the new user account via:
INSERT INTO "User" (
name,
email,
"emailVerified",
password,
source,
"identityProvider",
signature,
roles,
"createdAt",
"lastSignedIn",
"updatedAt",
"twoFactorBackupCodes",
"twoFactorEnabled",
"twoFactorSecret",
"customerId",
url,
"avatarImageId"
) VALUES (
'John Doe',
'john1.doe@example.com',
NULL, -- or a specific timestamp if email is verified
'$2a$12$IZMAXpmiIXOBbu8p2tU9ueBY10o0pvMNj3Y/U4/OczMvrtEw/7F22', --this is the bcrypt hash for the default password of password change to the hash for your REAL password make it strong
'source_value',
'DOCUMENSO', --this is the identity provider Documenso supports Google and OIDC however that is beyond the scope of this tutorial
'signature_value',
'{ADMIN}', --change to USER if you wnat to create a USER account instead
CURRENT_TIMESTAMP,
CURRENT_TIMESTAMP,
CURRENT_TIMESTAMP,
NULL, -- or specific backup codes if two-factor is enabled
FALSE,
NULL, -- or specific secret if two-factor is enabled
12, --this must be a UNIQUE customer ID change if necessary
'joe', --this must be a UNIQUE URL endpoint change if necessary
NULL -- or specific avatarImageId if available
);
When creating the new ADMIN account for Documenso, we need to provide our password in hashed form. At least at the time of writing Documenso was using BCrypt (although they may support other hash types as well). You can create a password hash either manually or via https://bcrypt-generator.com/ which we will use here. To generate a password hash go to https://bcrypt-generator.com/ and type your plaintext password in the password field on the left and press enter. It will return the hashed result. Now in the password value in the script replace $2a$12$IZMAXpmiIXOBbu8p2tU9ueBY10o0pvMNj3Y/U4/OczMvrtEw/7F22 with your password hash.
Now that we have a hash for our password, we are ready to run the script. Be sure to adjust any of the values as necessary. Once you run the script you should get a success message, however if you get errors relating to the customer id or url or any other value already being used just change those values to unique values. After it runs successfully navigate to http://localhost:3000 (if you are running Documenso locally, if not navigate to the URL of the Documenso login page).
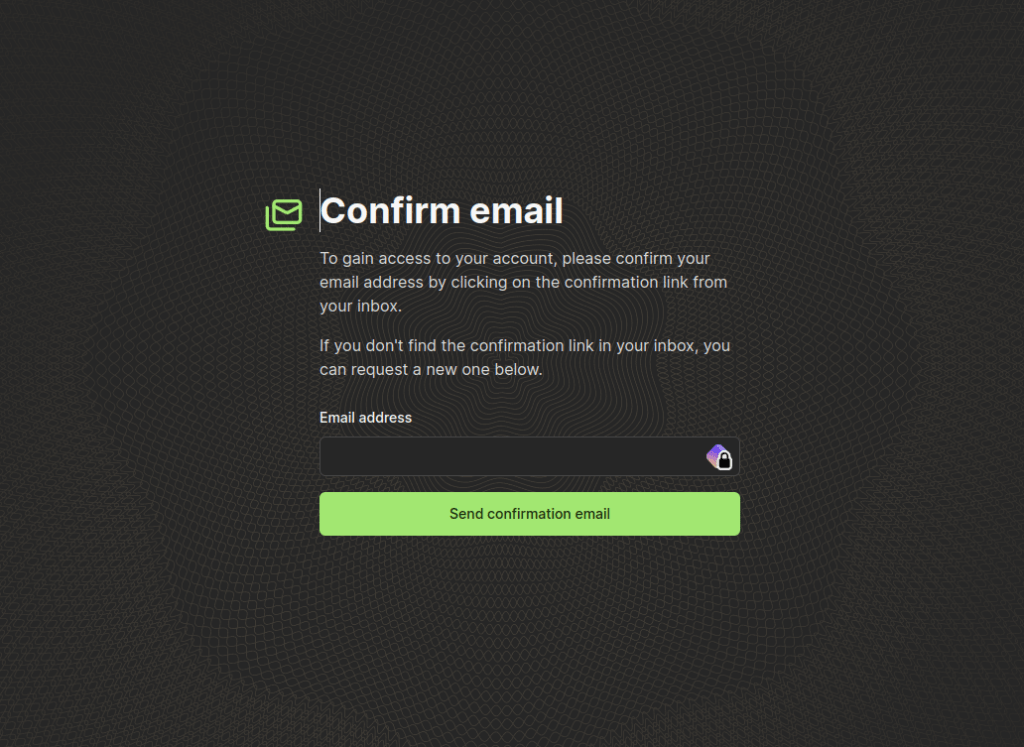
Attempt to login to Documenso with the new user credentials, if you left the emailVerified value in the script to “NULL,” (the default value in the script” you should get a message that says User not verified as shown below:

Just resend the confirmation email, go to your inbox and confirm. You should then be able to login as normal. That’s it, you have successfully manually created a new user account for Documenso via psql in the command line!
Walter Miely is a tech entrepreneur and CEO of Phoenix Ignited Tech You can find him on Linkedin. This material is licensed under the CC BY 4.0 License LEGAL DISCLAIMER: The content provided here is provided AS IS, and part of, or the entirety of this content may be incorrect. Please read the entireLegal Disclaimer here.
+ Ave Maria +