Phoenix Ignited is a proud tech solutions partner of Luxauro.com. View their news and media page here: Luxauro.com
In this tutorial we will install Ubuntu Desktop on a VM inside of VirtualBox. It covers the entire VM configuration and OS install. The only prerequisite for this tutorial is that you have VirtualBox installed, you can find the official VirtualBox installation docs here: https://www.virtualbox.org/wiki/Downloads and my tutorial for installing VirtualBox on Debian based systems can be found here: https://phoenixignited.tech/installing-virtualbox-on-debian-based-systems/.
You can find the official Ubuntu Desktop VirtualBox VM installation docs here: https://ubuntu.com/tutorials/how-to-run-ubuntu-desktop-on-a-virtual-machine-using-virtualbox#1-overview
Let’s Dive!
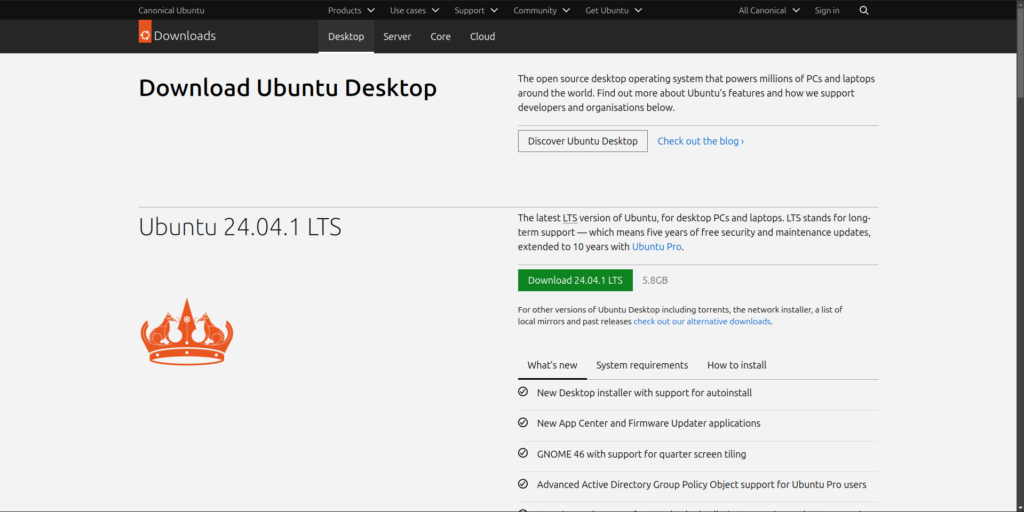
Head to Ubuntu.com or follow this link https://ubuntu.com/download/desktop and download the Ubuntu .ISO file. We will use this .ISO file to install Ubuntu on our VM.
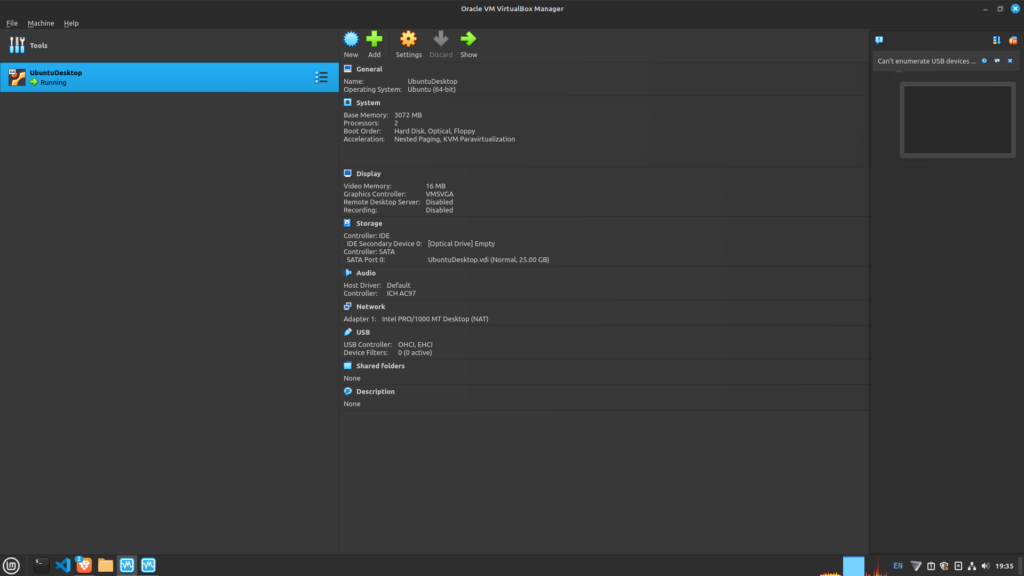
Now open VirtualBox and select “New”.
Name the VM and select the .ISO image to use as well as the directory in which to store the VM files. You will see that once you select the .ISO image it will auto-fill the Type and Version fields. Hit “Next”.

Set the username and password for the VM as well as the Hostname. Be sure the Hostname has NO spaces in it otherwise you will be unable to proceed. Elsewhere I’ve seen it recommended to enable the Guest Additions setting.

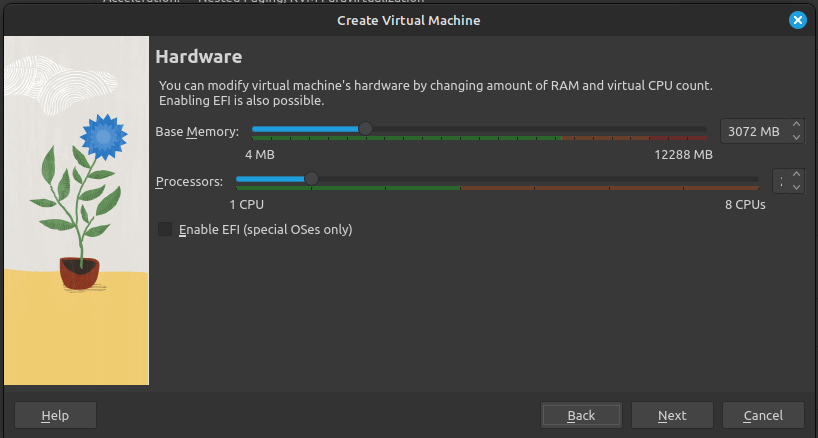
Next we configure the CPU cores, memory and hard drive space the VM will get. Make sure you provide the VM with enough resources to run for the intended purpose without taking away too much from the host machine. I kept my specs pretty minimal, the fewer resources assigned, the more likely the VM is to crash or freeze, in which case you have to “hard power” it off and restart it, I had to do this a few times.

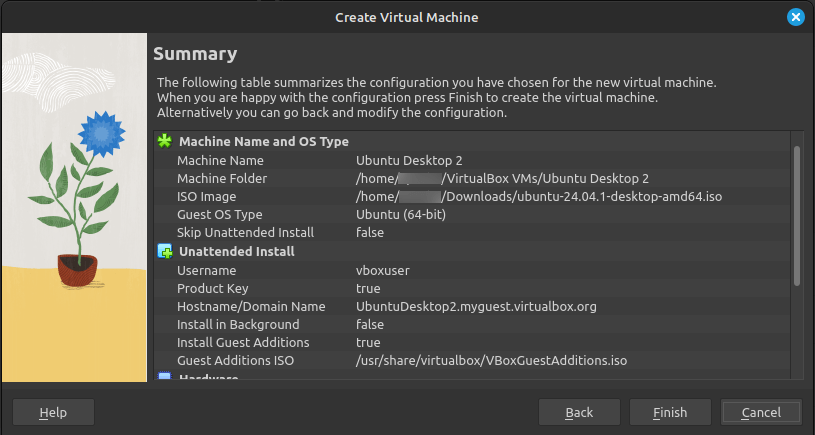
Then review the VM configuration and hit “Finish” this will boot up the VM and start the OS installation.

I got a few errors however I just let it roll and they never proved to be fatal. Again if it freezes just power it off and restart it. Otherwise we proceed to the OS install!
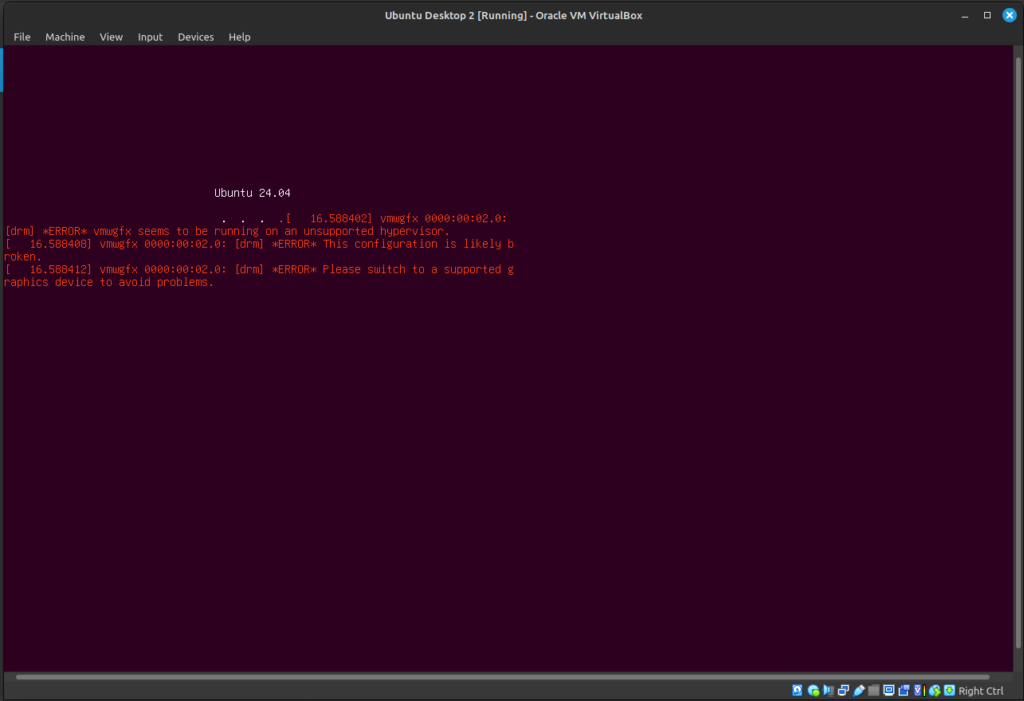
Now just follow the on screen step-by-step install instructions.
Select your language preferences.
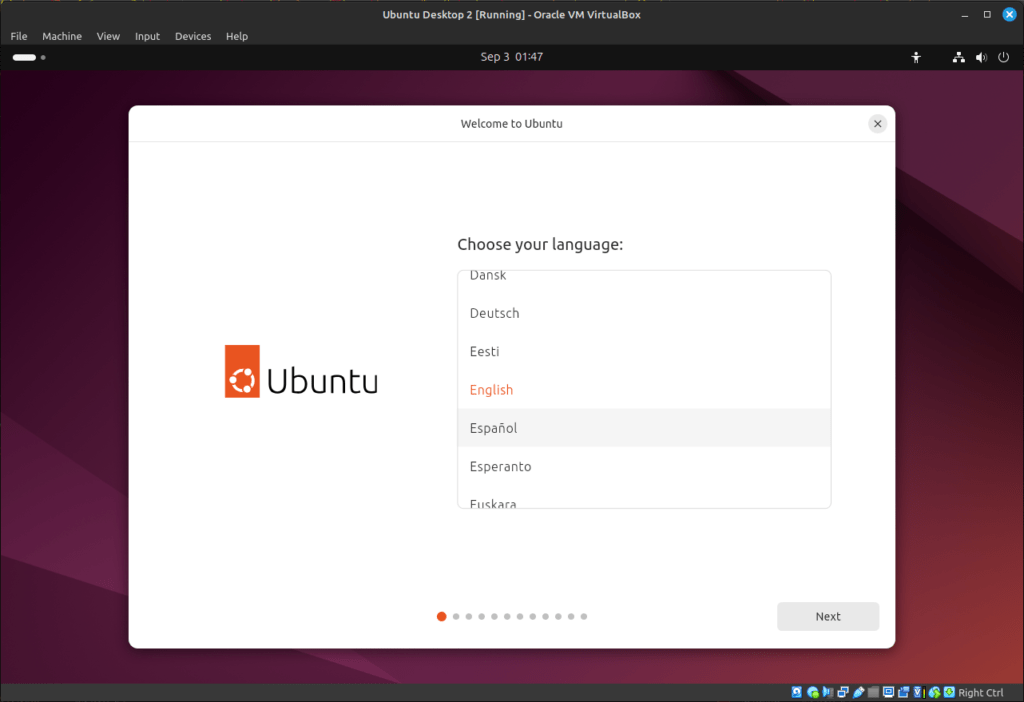
Configure the accessability settings.

Configure the keyboard layout.
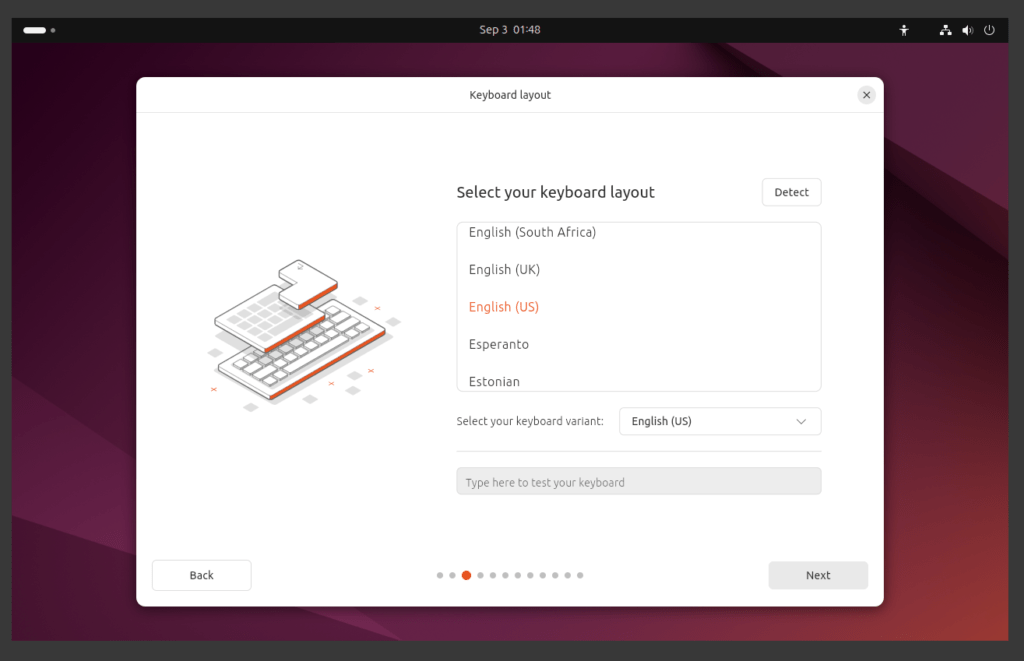
WiFi configuration.

Here we will select “Install Ubuntu” as we want to install Ubuntu on our VM. If you don’t want to actually install it on the VM, you can select “Try Ubuntu”.
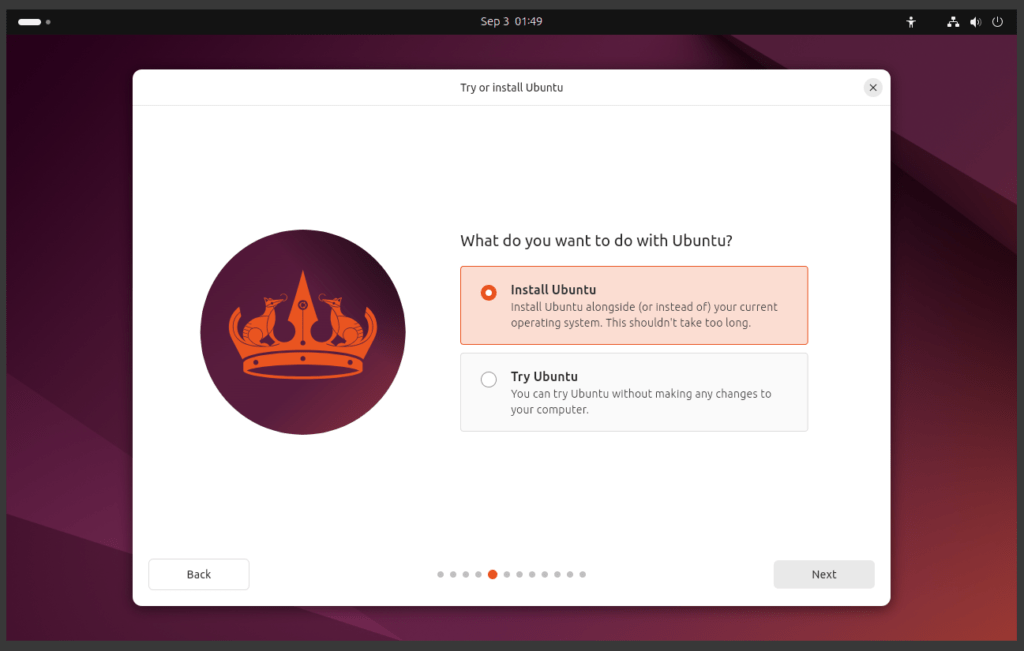
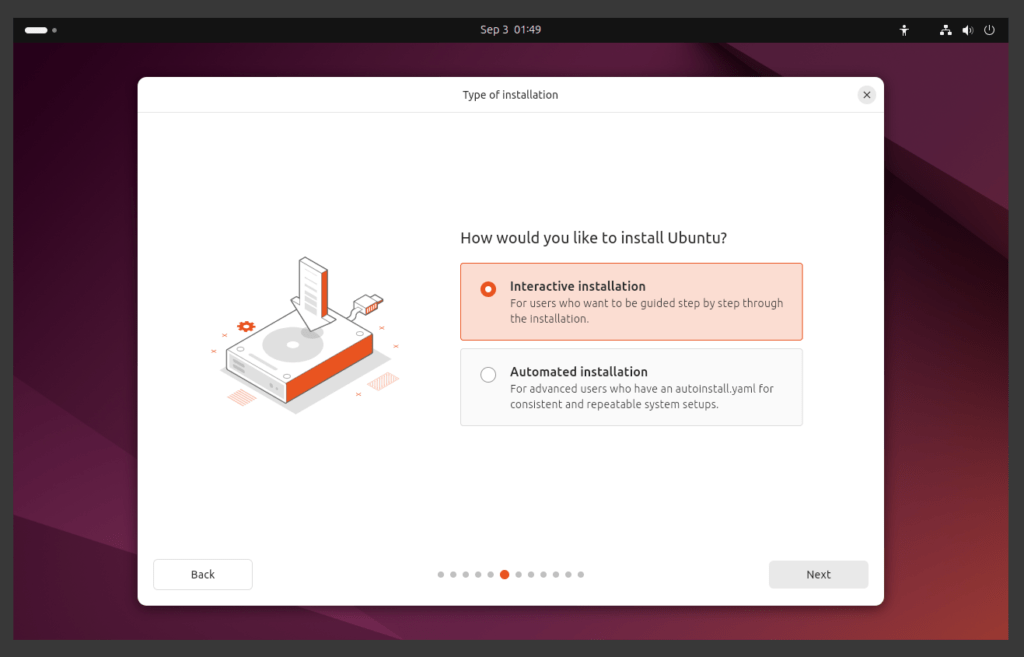
Select how you want to install Ubuntu, unless you have an autoinstall.yaml file for automated installs, just select “Interactive installation”.
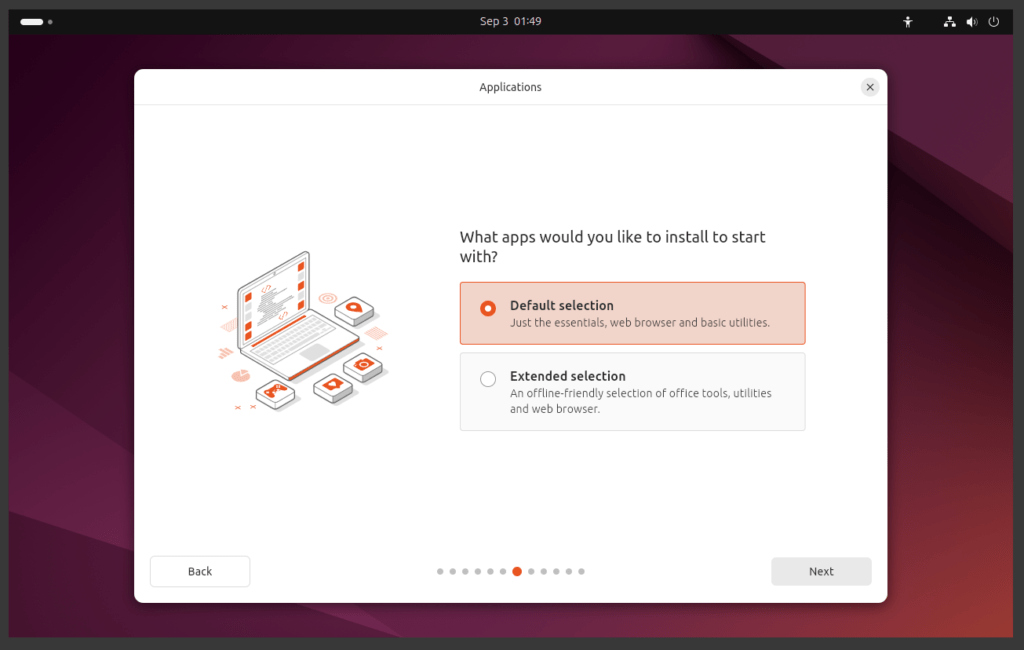
Select which apps to install.
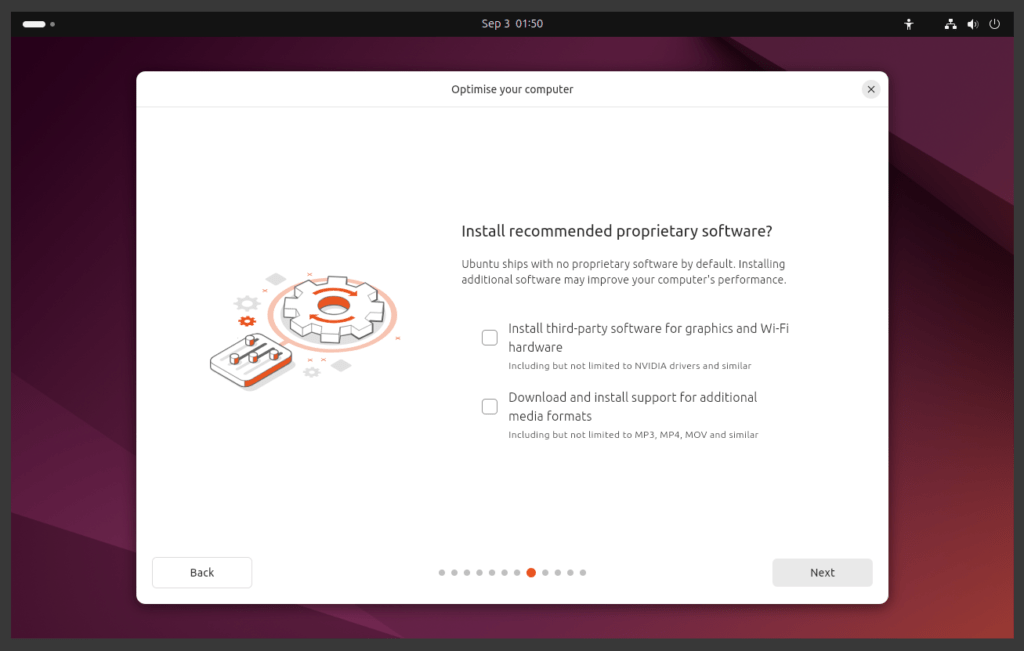
Select whether to install recommended proprietary software.
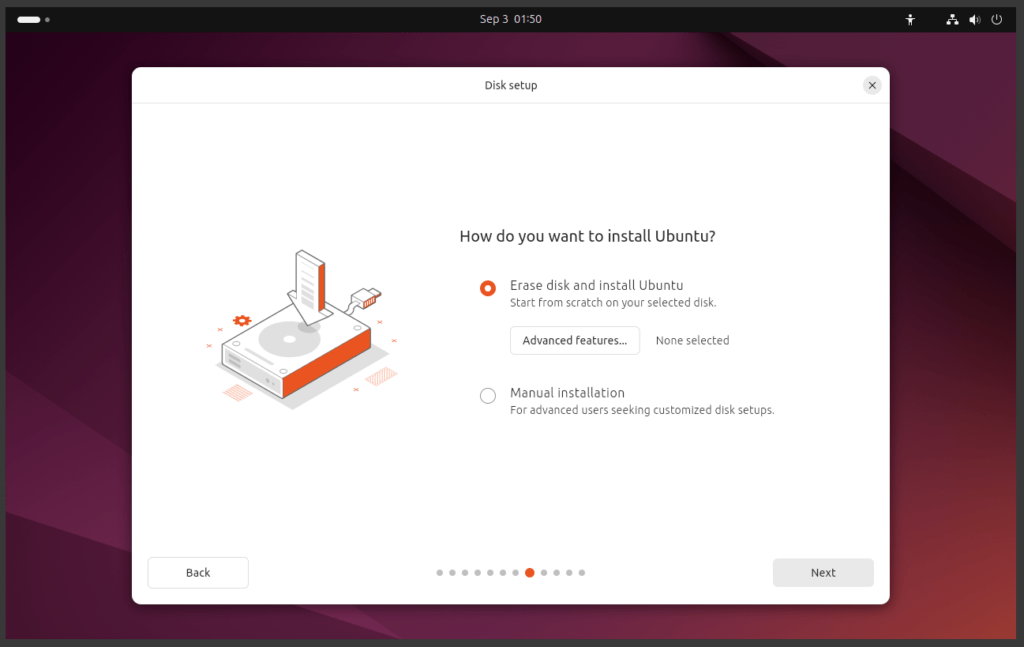
Next select how to install Ubuntu. Whether to erase the entire disk and install Ubuntu fresh or to customize the disk setup via a manual installation. We will select “Erase disk and install Ubuntu”..
Note: This does not erase your entire hard drive as we are running this as a VM, it WILL erase the entire Virtual disk that we assigned the VM during the VM configuration earlier. Basically it shouldn’t erase all of the data on your disk, although my lawyer would drop me if I guaranteed anything. 😉
Next create a user account.

Set your timezone.

Review the configuration and Install the OS!
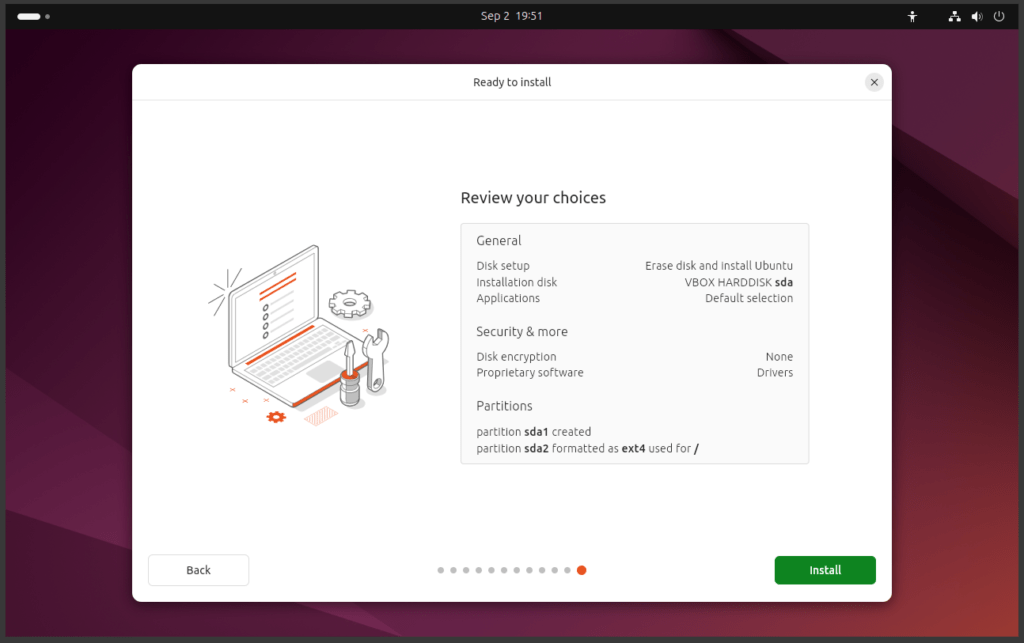
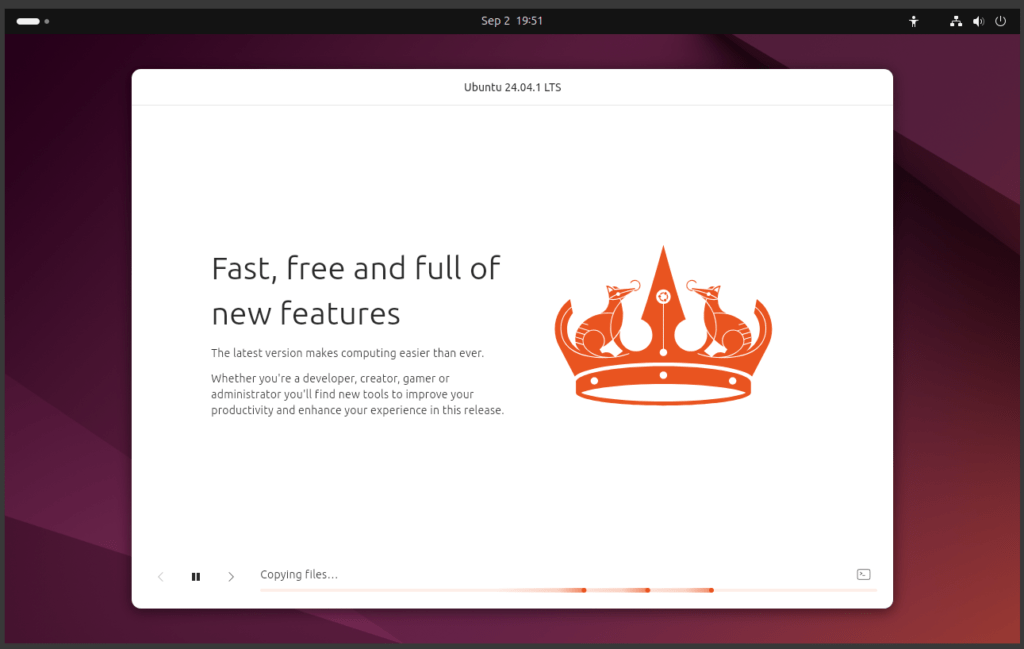
Now get a coffee and relax while it installs.
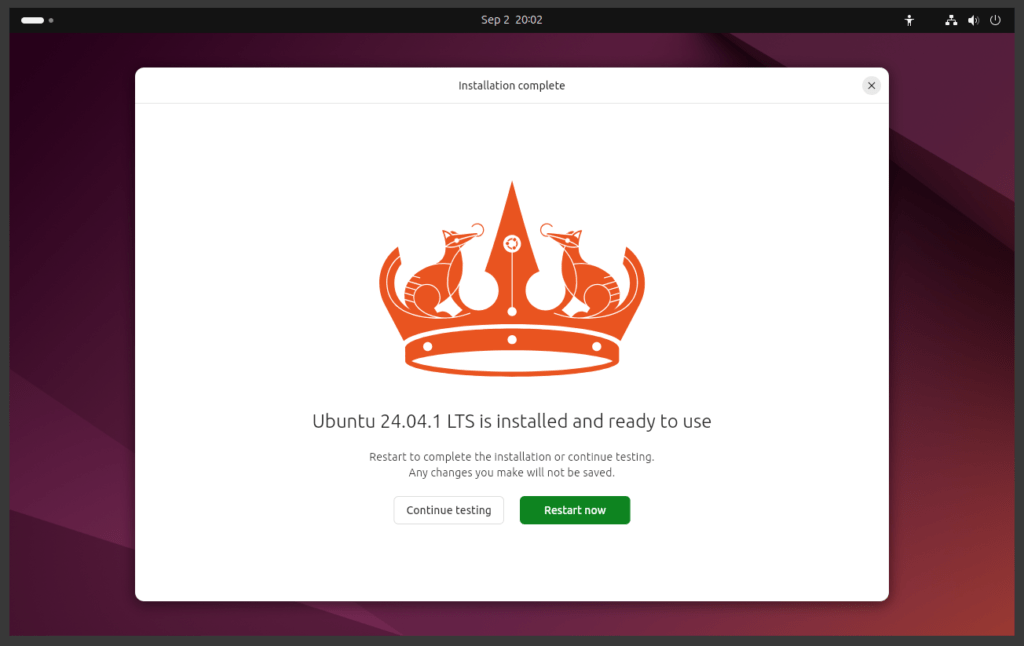
Once it is finished installing reboot the VM.
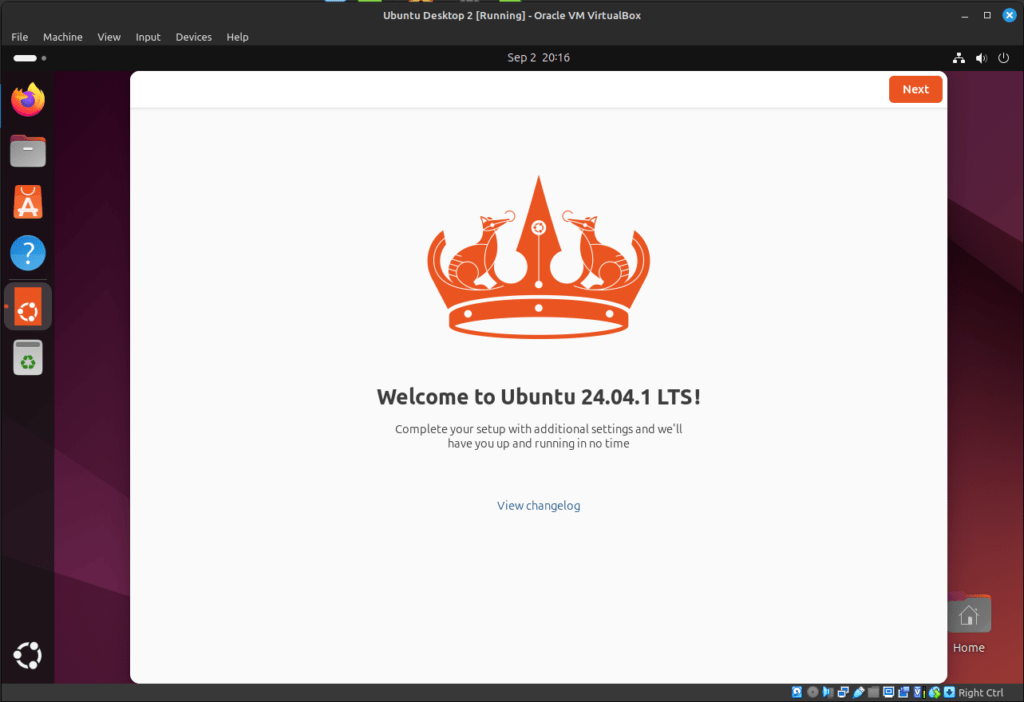
Then login and voila! You have installed Ubuntu Desktop on a VM in VirtualBox!
That’s a wrap!
Walter Miely is a tech entrepreneur and CEO of Phoenix Ignited Tech You can find him on Linkedin. This material is licensed under the CC BY 4.0 License LEGAL DISCLAIMER: The content provided here is provided AS IS, and part of, or the entirety of this content may be incorrect. Please read the entireLegal Disclaimer here.
+ Ave Maria +