Phoenix Ignited is a proud tech solutions partner of Luxauro.com. View their news and media page here: Luxauro.com
This is a quick walk through guide on how to reimage a VPS machine on Ionos.
Proceed with Caution: Reimaging a machine will delete all data and configurations on that machine.
To reimage your Ionos VPS navigate to your “Servers & Cloud” Dashboard.

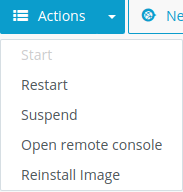
Select the vps you wish to reimage and select the “Actions” dropdown, select “Reinstall Image”.
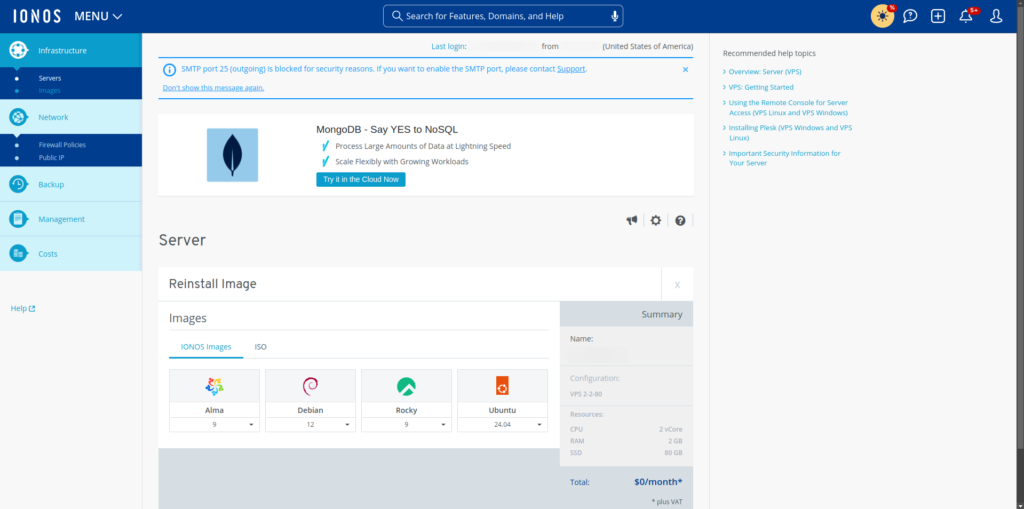
Select which image to install on the machine, you can choose a default IONOS image or an ISO image. I selected the Ubuntu 24.04 image, the process should be the same though for other OS’s. There may be some differences though if the image you install requires a license key.
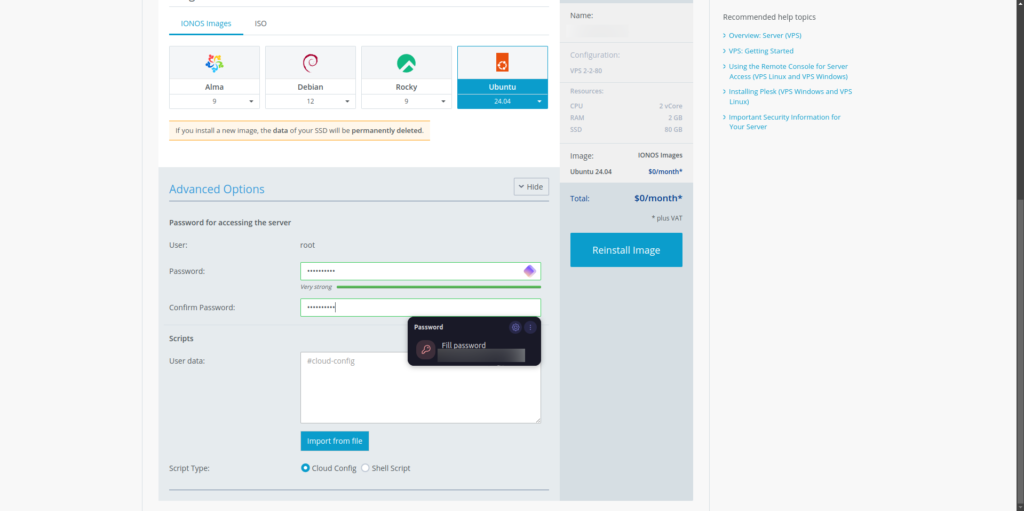
If you select “Advanced Options” you can set your own password and enter custom scripts here.
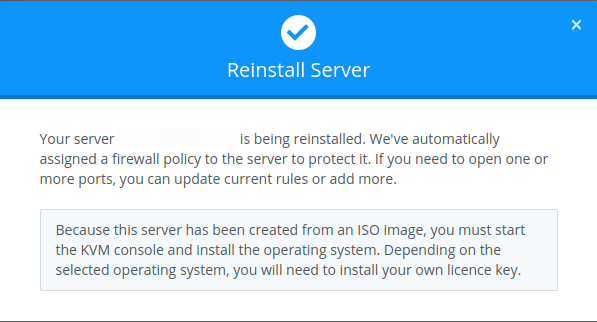
Press “Reinstall Image”, you will see a notice such as below:
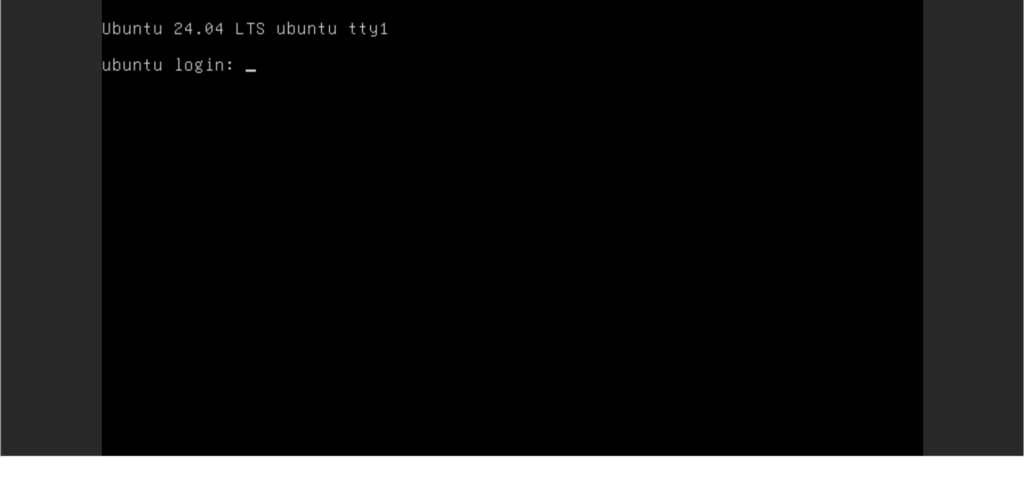
If you need to finish installing the OS from the KVM console select the “Actions” dropdown again and press “Open remote console”. The Ubuntu image finished installing itself without any help on my part, however I had to run updates on the vps.

The KVM grants you access as if you were physically able to connect to the machine.
That’s a wrap, I hope it was useful!
Walter Miely is a tech entrepreneur and CEO of Phoenix Ignited Tech You can find him on Linkedin. This material is licensed under the CC BY 4.0 License LEGAL DISCLAIMER: The content provided here is provided AS IS, and part of, or the entirety of this content may be incorrect. Please read the entireLegal Disclaimer here.
+ Ave Maria +